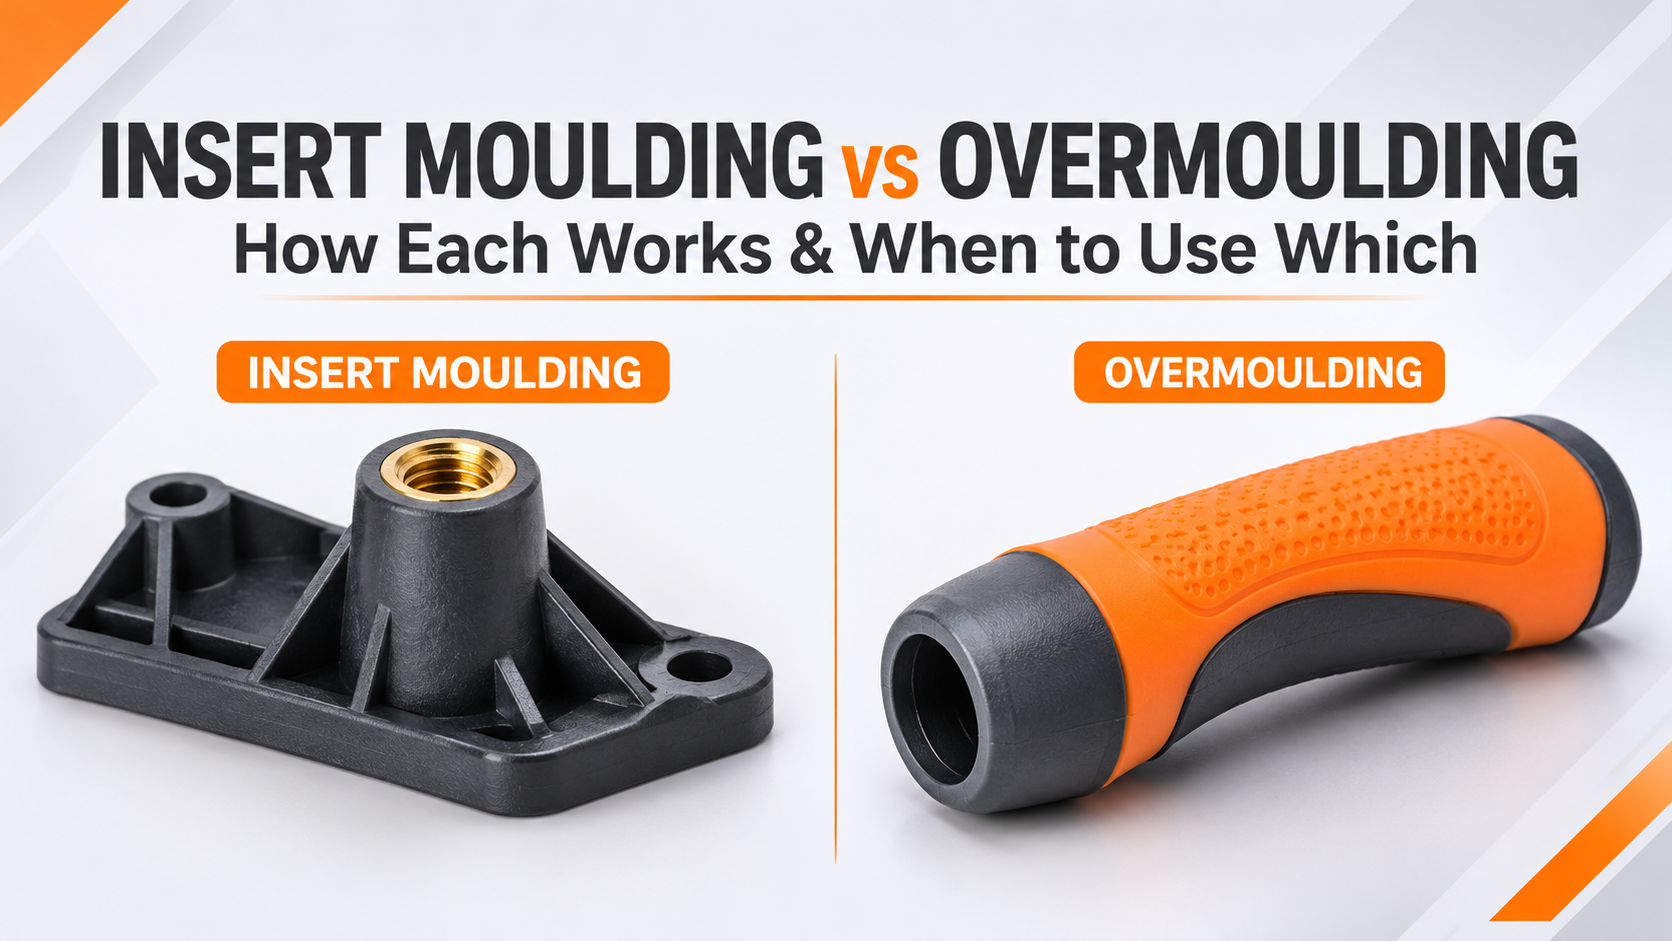
What Is the Difference Between Insert Moulding and Overmoulding?
Insert moulding (insert molding in US spelling) places a pre-made insert, typically metal, into the cavity and injects plastic around it in a single cycle. Overmoulding (overmolding) runs two shots, adding a soft material over a rigid substrate that was formed first.
It adds embedded structure such as screw points or contacts; an overmould adds grip, sealing or multiple materials in one part. Both replace manual assembly and labor (labour in UK spelling) with one shot-based step, variants of plastic injection, a manufacturing process built around molten plastic.
How the Insert Moulding Process Works
The insert moulding process runs as one cycle with five steps.
1. Prepare- Inserts are pre-forms, machined, stamped or cast. Examples of insert materials include brass, stainless steel, aluminium and copper, and common insert types are threaded inserts, contacts and bushings. Preheating them cuts post-cooling shrinkage.
2. Place- By hand at low volumes, by robot at higher ones. Locating pins hold it inside the cavity so injection pressure cannot move it.
3. Inject- Molten plastic from the injection unit encapsulates knurls and undercuts, locking metal and plastic into one part. Most engineering thermoplastic resins work; thermoset resins suit high-temperature electrical parts.
4. Cool- Cooling time depends on section thickness and the plastic material.
5. Eject- Support around the insert must hold it steady as pins push the part out.
How the Overmoulding Process Works
The overmoulding process needs two stages: a rigid substrate first, then a softer layer over it.
1. Form the substrate- such as a housing or handle core.
2. Transfer- A two-shot machine rotates the part to a second cavity. The alternative reloads the cooled substrate into a separate tool, which is slower but needs less equipment.
3. Add the overmould- Molten TPE or TPU is injected over a substrate that is still warm, which aids chemical bonding.
4. Cool and eject- The extra stage adds production time per cycle compared with a single-stage insert run.
Overmoulding Materials and How They Bond
Overmoulding materials bond mechanically, where holes and undercuts lock the layers, or chemically, where compatible polymers fuse. Good multi-material parts use both.
Material data for the three easiest substrates:
- ABS (acrylonitrile butadiene styrene), a common plastic, for the simplest first overmould.
- Polycarbonate when the part needs a tougher shell.
- Nylon 6 when structural strength matters.
Bonding basics:
- Where a chemical bond cannot be guaranteed, add through-holes or textured channels so the bond does not rely on chemistry alone.
- Pair each rigid plastic with a supplier-tested grade, and validate the pairing on samples before production tooling is cut.
- Oils or release agents weaken any bond, so keep substrates clean.
Design Rules for Wall Thickness, Insert Retention and Undercuts
Three things decide whether an insert-based plastic part survives: the walls, the retention features and the undercuts. Good part design covers all three, and the surrounding plastic carries most of the load.
Metals and plastics differ in thermal expansion and shrinkage, so dimensional accuracy depends on these rules being right before the mould is frozen. Sources for the figures:
- Uniform walls of 1.5 to 3.0 mm and a 1 degree minimum draft.
- Preheating inserts, boss diameter and the 0.4 mm protrusion rule.
- Voids and other defect causes.
Most common defects trace back to these rules:
Cost, Tooling and Production Volume
Cost drivers:
- Tooling complexity. Good tool design matters: a moulding tool for insert work needs locating features, and an overmould needs a two-shot tool or a second one.
- Cycle time. A second shot adds a stage, so each part takes longer and costs more at low volumes.
- Insert handling. Manual placement is cheap at low volume; automation adds consistency and design flexibility at scale.
Where this route beats assembly:
- In the injection moulding process, as with injection moulding cost in general, fixed tooling spreads across part count.
- Moulding becomes more practical than assembly or adhesives when the extra tooling cost, divided by the adhesive and rework cost saved per part, is below your planned quantity.
- Under the minimum order quantity, tooling cost per part can outweigh those savings.
When to Use Insert Moulding vs Overmoulding
Choose the insert route for embedded metal structure or electrical connection, where metal supplies the strength and durability that plastic alone lacks. Choose an overmould for a soft, grippable or sealed elastomer surface. Many products use both.
Metal parts go into structural bosses, while soft layers go where touch, vibration or sealing matter. Automotive and medical device parts often combine both. Using insert moulding, insert moulded parts and overmoulded plastic components cut part count.
How to Prototype With 3D Printing Before Tooling
Print the part in nylon with HP MJF (Multi Jet Fusion) to check fit, section thickness and undercut geometry before steel is cut.
Printed parts do not reproduce built-in shrinkage stress, so run end-use and temperature-cycling tests on first trial samples too. Rapid tooling and rapid injection moulding supply those samples before production tooling, and 3D printing or injection moulding shows where each route pays off.
Insert Moulding and Overmoulding Services at Amuse3D
Amuse3D offers both from its 50,000 sq ft factory in Oragadam near Chennai. The company is ISO 9001:2015 and IATF 16949:2016 certified, reports a 0 PPM rejection rate, and serves 1,000+ clients across 30+ countries.
Conclusion
A ready-made insert locks into one shot; an overmould builds a functional layer in a second shot. Pick by what the part needs, whether volume justifies tooling, and whether the design survives real use.
Ready to start? Book a design review before tooling to settle which process fits your part, or see our injection moulding services for what Amuse3D can make.
Contact us with your drawing and expected volumes, or get instant quote to start pricing.
Frequently Asked Questions
1). Is it insert moulding or insert molding?
Both. The first is UK and Indian spelling; molding is US. Insert molding services, the insert molding process and the overmolding process describe the same work, from mold design and the mold cavity to the molded part and molded plastic.
Teams use insert molding as an injection molding technique, and the insert injection molding process runs in a single molding cycle on a standard molding machine with a plastic mold.
Plastic injection molding shops treat an injection molding insert as a part molded in place, and injection molding design rules apply to both processes. An insert molded part can also be overmolded.
2). What volume justifies the insert route?
There is no fixed number. Work out the extra tooling cost, divide it by the adhesive and rework cost saved per part, and compare the result with your planned quantity. If the quantity is higher, tooling pays off.
3). Can both processes be combined in one part?
Yes. A metal insert is set into a rigid substrate shot, then a soft overmould is added in a second shot.
4). How do you prevent insert movement?
Secure it with locating pins, use undercuts or knurling that resist flow pressure, and confirm placement with a sensor.

