Injection Moulding FAQs
Injection moulding is the most efficient, economical and scalable technique to manufacture custom plastic parts consistently. The volume of the parts that can be manufactured ranges from hundreds to millions. It also has an extensive portfolio of materials and surface finish options to choose from compared to other methods like CNC machining.
The injection moulding process has four essential steps carried out in cycles to produce plastic parts on a large scale.
- Closing of Mould or Clamping: The two halves of the mould are held together with force. The force depends on the injection pressure or size of the mould.
- Plastic Injection: The plastic pellets are melted and injected into the mould cavity.
- Cooling: The molten plastic material is solidified with the help of coolant channels in the mould.
- Opening of Mould or Ejection: The mould’s two halves are opened, and the plastic part is ejected.
The time taken to complete the set of operations once is known as the cycle time.
Injection Moulding Nomenclature:
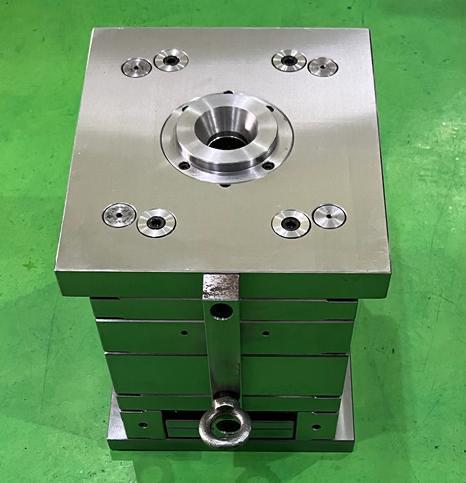
- Mould: A mould usually has two halves – Core (Non-cosmetic side) and Cavity (Cosmetic side). When held together, the two halves of the mould forms the shape of the plastic part to be manufactured. The mould is generally made from hardened tool-grade steel (P20 or H13) or even aluminium.
- Runner: The molten plastic material is injected into the mould cavity from the sprue through the runner system. There are usually two types of runners: Hot runner and cold runner. The solidified runner is automatically trimmed from the part while ejecting in the case of a hot runner. Whereas in the cold runner, it is dependent on the mould construction.
- Gate: The molten plastic enters the mould cavity from the runner through a small opening called a gate. Different type of gates is used depending on the part geometry – Edge gate, Submarine gate, Sprue gate & Diaphragm gate. The type and size of the gate play a significant role in the plastic material filling the mould cavity.
- Air Vents: An air vent is a small channel usually machined in the cavity side of the mould to release the air trapped inside during injection. This process ensures complete filling of the part, and also trapped air sometimes causes burning of plastic.
- Parting Line: A line is formed around the plane where two mould halves meet.
Side action tools are used when certain features of the part don’t allow the region to be ejected once it is formed inside the mould cavity. These features are generally called undercuts. In such cases, an additional cam assisted mechanism is required to release the part from the mould, known as a side action.
There are two main cost components in the injection moulding process.
- Tool Cost: Tool cost is the initial investment made for manufacturing the mould, and it holds a significant share in the cost. The tool cost depends on the part complexity (undercuts), part size, and the manufactured volume.
- Part Cost: Part cost is generally very low compared to the tool cost. The part cost depends on the part weight, plastic raw material used, cycle time and the type of injection moulding machine used.
Design for Injection Moulding is a design approach with specific guidelines to ensure the success of moulded plastic parts.
Some of the most essential and basic guidelines are:
- Uniform wall thickness: Maintain uniform wall thickness throughout the part to avoid sink marks. The allowable range of thickness varies depending on the type of material used.
- Draft angle: It is the angle added to the part’s vertical surface to ensure easier ejection. It varies from 0.5° to 5° depending on the part geometry and surface finish requirements.
- Rib thickness: The thickness of the ribs designed should be within 60% of the wall thickness of the part.
- Avoid undercuts while designing the part to minimise tool cost.
Upload your 3D file, get a free DFM and ensure the success of your plastic parts in advance.
Injection moulding is used by a wide range of industries for their custom plastic part requirements.
Some of the major industries include:
- Automotive
- Consumer Electronics
- Toys
- Consumer Goods
- Medical devices and more
Selecting the suitable material for the part is the most critical process in determining whether the parts are successful in their end-use application.
The material choice depends on different factors. Some of the critical factors are:
- The environment in which the parts are used.
- Temperature requirements.
- Strength requirements: Ultimate tensile strength, strain % etc.
- The life expectancy of the part.
- Surface finish requirements of the parts.
Overmolding is an injection moulding technique where a layer of plastic is formed over another moulded plastic part. It is a two-step process where the initially developed plastic product is again loaded into the tool for overmolding. Rubber grips in hair dryers or any consumer electronic products are among the most common examples of overmolded products.
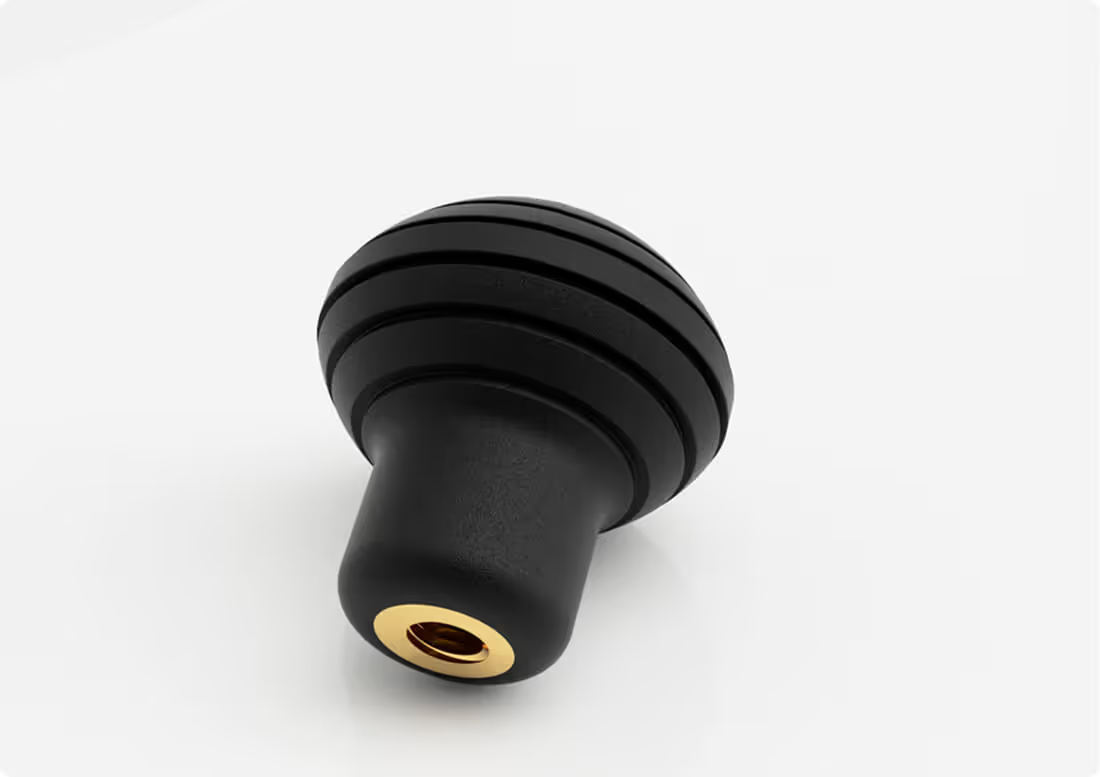
In insert moulding, a layer of plastic is formed over the tool’s pre-placed insert, thus firmly encapsulating it. An insert can be a threaded metal piece or a metal handle etc. This task reduces both time and labour. For example, tapping threads after the part is formed will be very laborious and run the risk of the part being rejected for faulty threads.